Usage
To start hfinder, simply type:
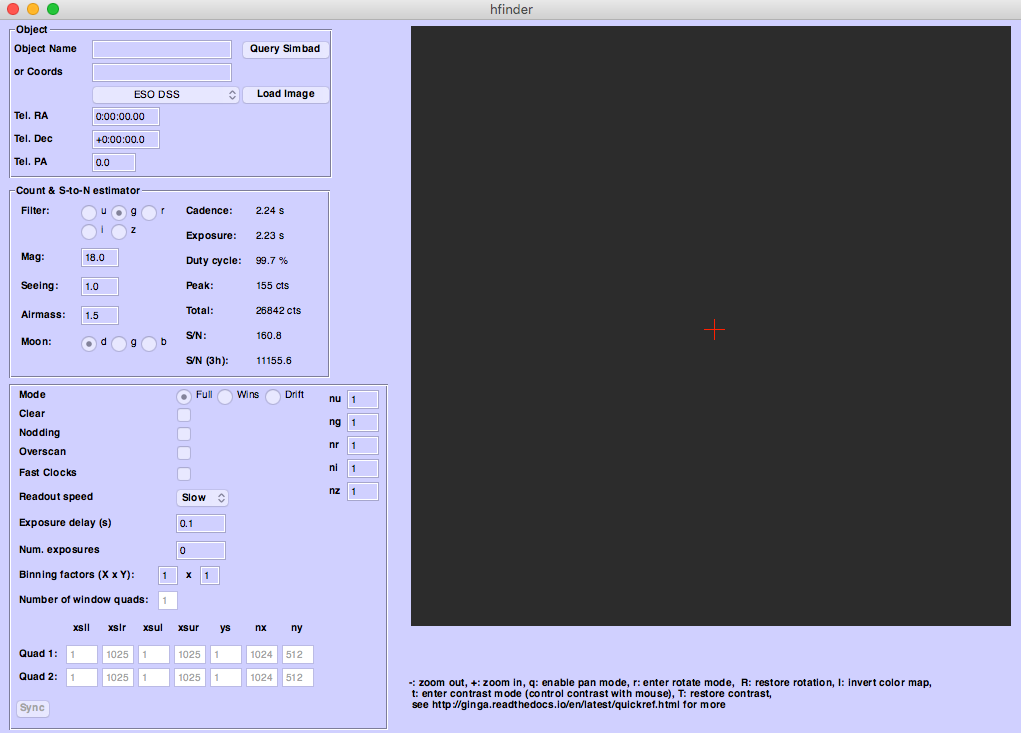
hfinder
The main GUI window will display, shown below.
Telescope Selection
Before proceeding any further, make sure the correct telescope is selected using the Telescope menu item. If you wish to make your selection permanent, see Changing the config file.
Target Setup
Enter your Object Name in the appropriate box. You can query SIMBAD using your entered target name by pressing the Query Simbad button. If SIMBAD lookup fails, you can enter your target coordinates by hand.
Select a sky survey to grab images from and press the Load Image button. If an image is available in the selected sky survey it will be downloaded and displayed, along with the HiPERCAM field of view (FoV).
Manipulating the FoV
You can change the telescope pointing either by click-dragging the FoV, or by changing the values
in the Tel. RA and Tel. Dec fields. Like all numerical entry boxes in hfinder
the right and left arrow keys will increment or decrement the values. Holding Shift whilst
pressing the arrow keys will make larger changes.
The Sky PA can be click-dragging on the corner of the displayed FoV. This will rotate the FoV. Alternately, edit the value in the Tel. PA field.
Interacting with the displayed image
Basic instructions for manipulating the displayed image (pan, zoom etc) are displayed below the
image itself. hfinder uses the ginga package
for image display. For a fuller reference about interacting with the image area, see the
Ginga Quick Reference.
Choosing an Instrument Setup
hfinder includes a panel that is used to configure the readout modes of HiPERCAM.
This panel is shown below:

As you make changes to this panel, the displayed FoV will update to reflect your choices of readout mode and window settings. The exposure time, cadence and signal-to-noise estimates in the panel above will also update.
Use this panel to select an instrument setup that best suits your observing needs. For a description of the various settings and HiPERCAM’s available modes, see Using HiPERCAM.
Once you’ve got a setup and a pointing you are happy with, you can save a finding chart and export an instrument configuration file. To do this, select and respectively. This will create two files which you should upload as part of your phase II submission.
Changing the config file
A default configuration is written to .hfinder/config in the user’s home directory.
This has many settings in it, the vast majority of which should not normally be changed by
the user. Two which are of interest are telins_name, which sets the default telescope.
Set this to GTC or WHT as required.
The other option which may be useful is the font_size. Change this setting to increase or
decrease the font size if the GUI does not fit well on your screen.